on
Dinner Ideas
- Get link
- X
- Other Apps
Creating your own protein snack box can be a fun and easy way to fuel your day, whether you're at work, hitting the gym, or just need a quick bite. With a mix of flavors and textures, these snack boxes can keep your cravings in check while packing in the protein. Here are some tasty ideas to help you whip up the perfect protein-packed treats!
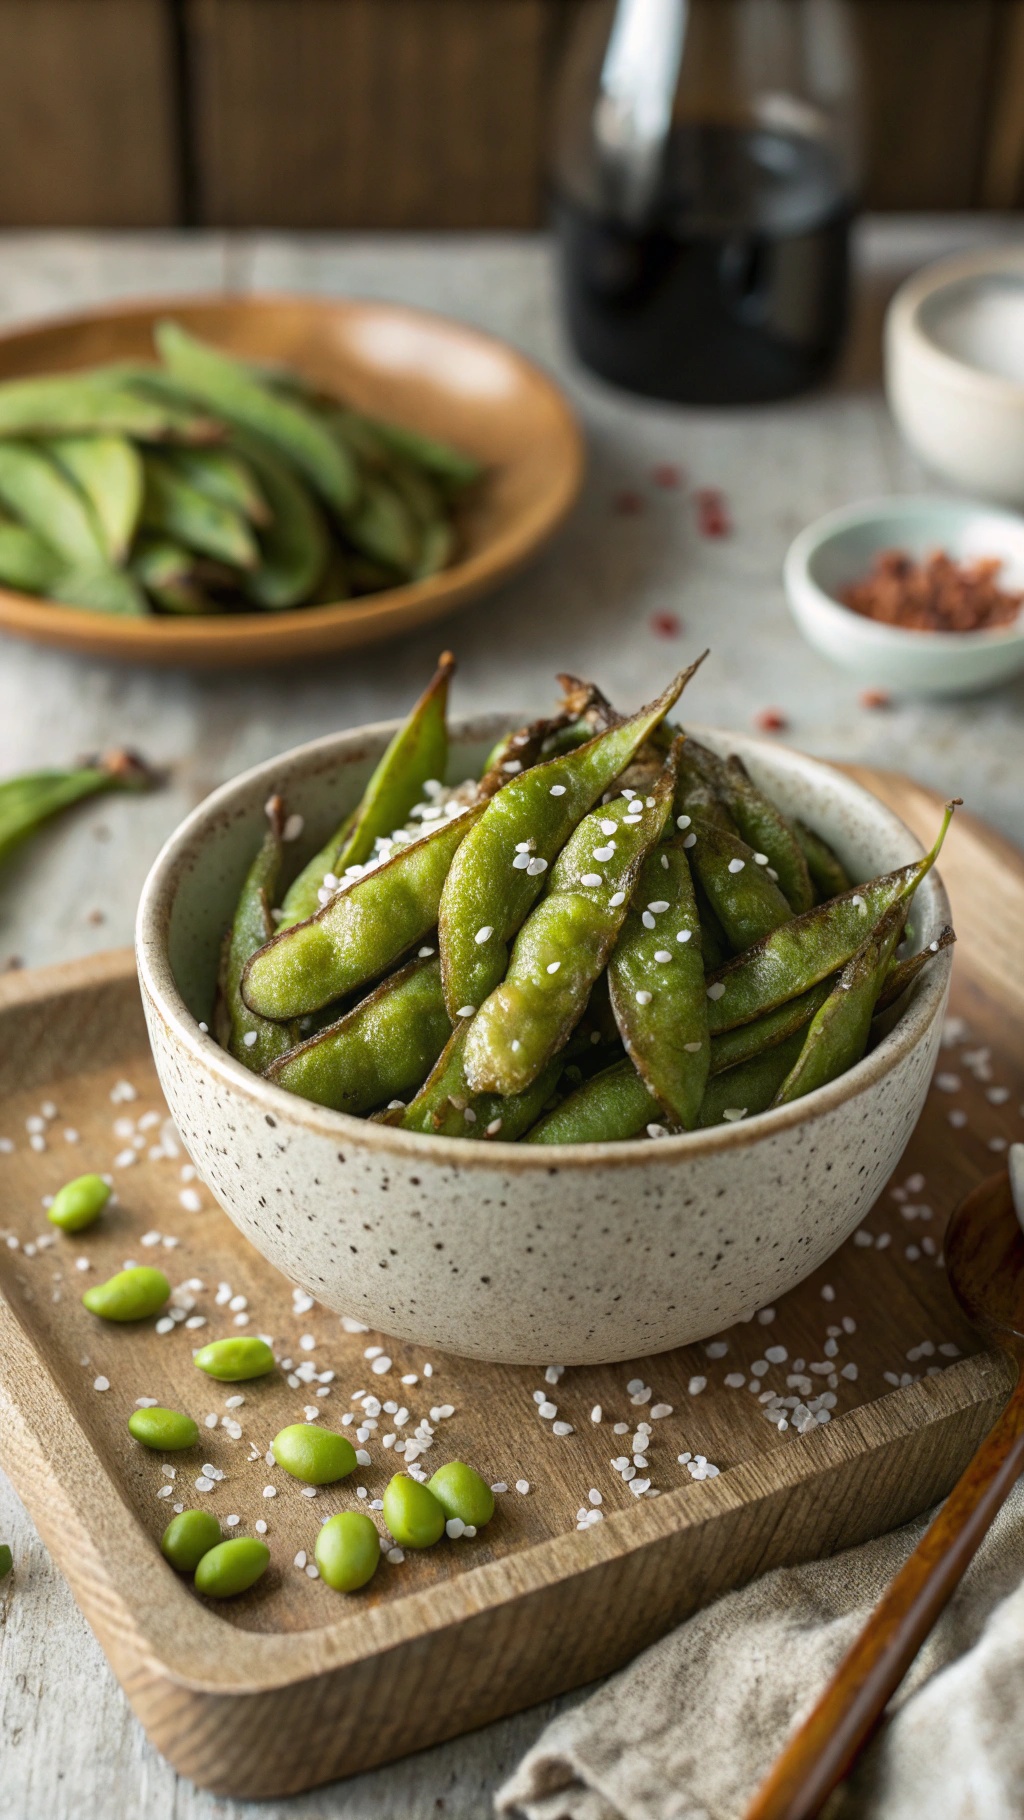
Roasted edamame is a fantastic snack that packs a punch of flavor and nutrition. These crunchy green beans are not only tasty but also provide a great source of protein. They make a perfect addition to your DIY protein snack box, adding variety and crunch to your munching experience.
To make roasted edamame, you start with fresh or frozen edamame pods. Toss them in a bit of olive oil, sprinkle with sea salt, and roast them in the oven until they’re crispy. The result is a delightful snack that’s easy to prepare and even easier to enjoy.
These edamame can be seasoned in various ways. Try adding garlic powder, chili flakes, or even a sprinkle of sesame seeds for an extra kick. They’re great for snacking on their own or can be mixed with other protein-rich snacks in your box.

Turkey and cheese roll-ups are a fantastic option for a quick and satisfying snack. These bite-sized delights are not only easy to make but also packed with protein, making them perfect for a midday boost. The image showcases a colorful platter filled with these roll-ups, surrounded by fresh greens and cherry tomatoes. The vibrant colors make it an inviting choice for anyone looking for a savory treat.
To make these roll-ups, you’ll need some simple ingredients. Start with tortillas, turkey slices, cheese, and a few fresh herbs for added flavor. The combination of turkey and cheese is classic, but feel free to mix in your favorite veggies or spreads to customize them to your taste.
These roll-ups are great for meal prep too. You can make a batch at the beginning of the week and grab them whenever you need a snack. They’re perfect for lunch boxes or as a quick bite before heading out the door.

Hard-boiled eggs are a fantastic way to add protein to your snack box. They’re simple to make and can be enjoyed on their own or dressed up with various toppings. In the image, you can see beautifully cooked eggs, cut in half to reveal their bright yellow yolks. They are garnished with fresh herbs and sprinkled with salt, making them look both appetizing and nutritious.
These eggs are not only easy to prepare but also versatile. You can season them with your favorite spices or pair them with veggies for a more filling snack. Plus, they’re perfect for meal prep. Just boil a batch at the beginning of the week, and you’ll have a quick protein source ready to go!
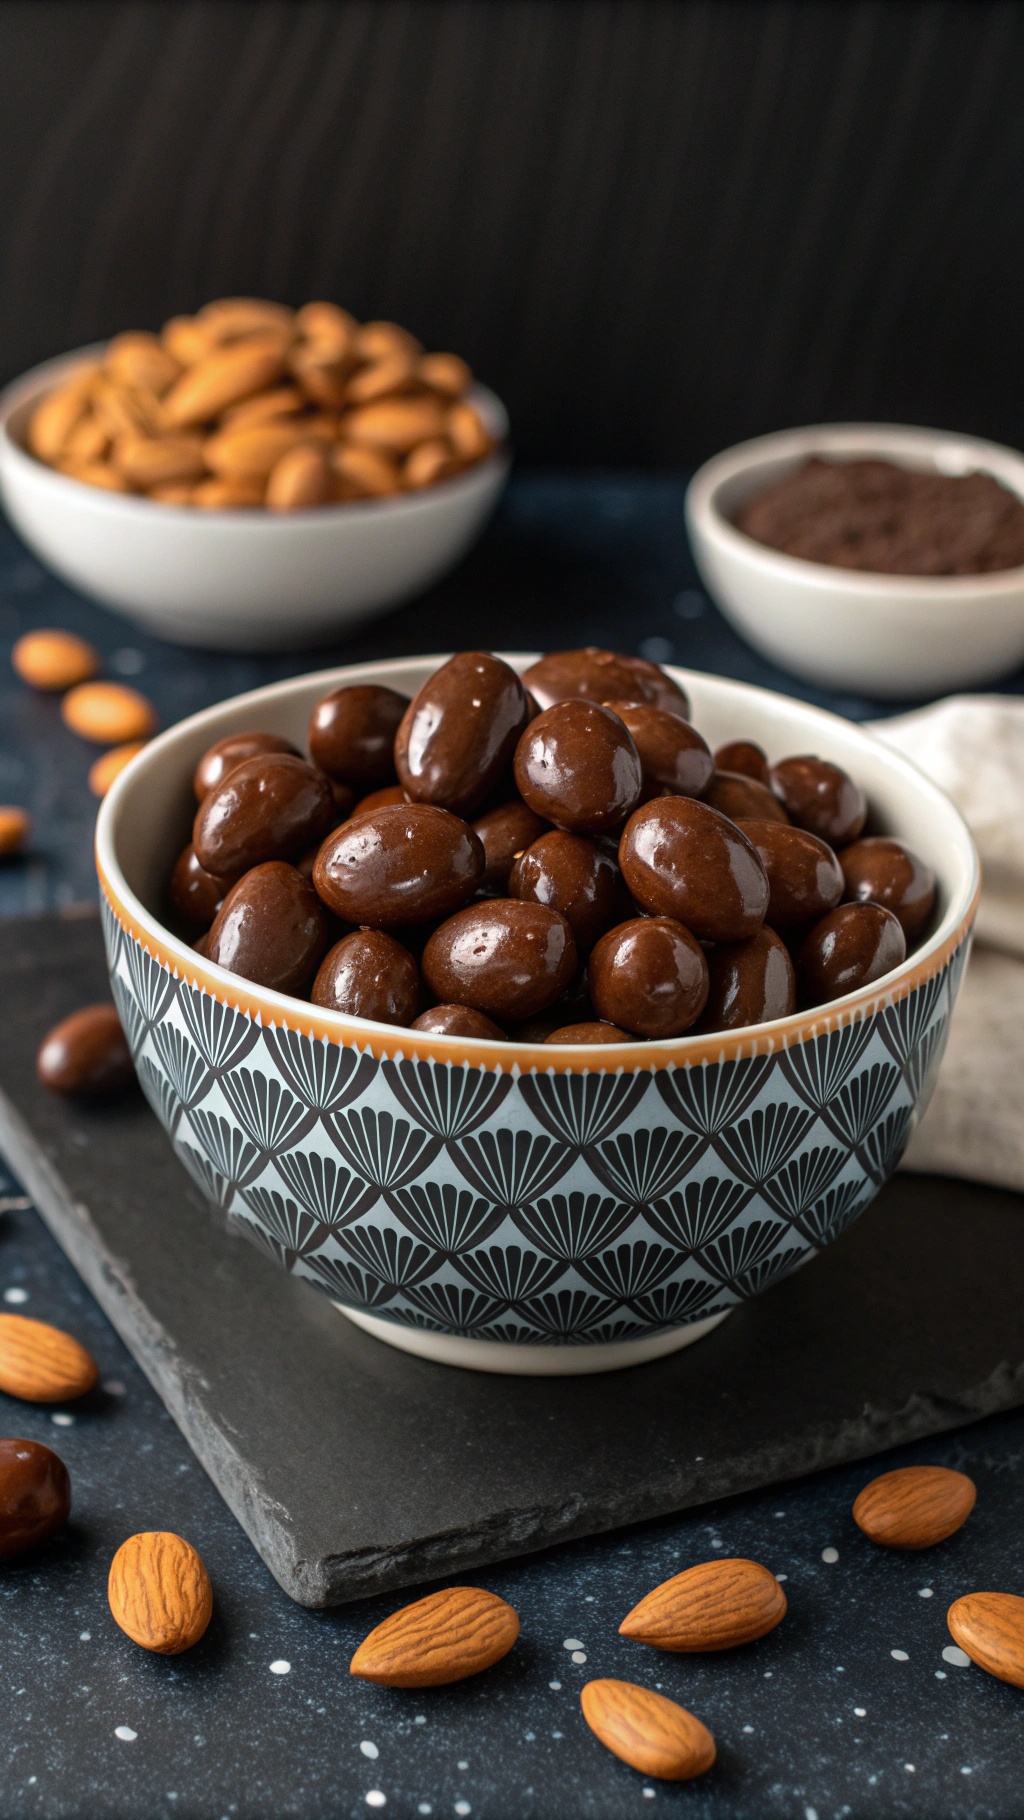
Chocolate-covered almonds are a delightful treat that combines the crunch of almonds with the sweetness of chocolate. They make a perfect addition to any DIY protein snack box. Not only are they tasty, but they also provide a good source of protein and healthy fats.
The image shows a beautiful bowl filled with shiny chocolate-covered almonds, surrounded by raw almonds and cocoa powder. This presentation highlights the contrast between the rich chocolate and the natural almond color, making them visually appealing.
Making chocolate-covered almonds at home is simple and fun. You can customize them with different types of chocolate or even add toppings like sea salt or crushed nuts for extra flavor. They are great for snacking on the go or as a sweet treat after a workout.
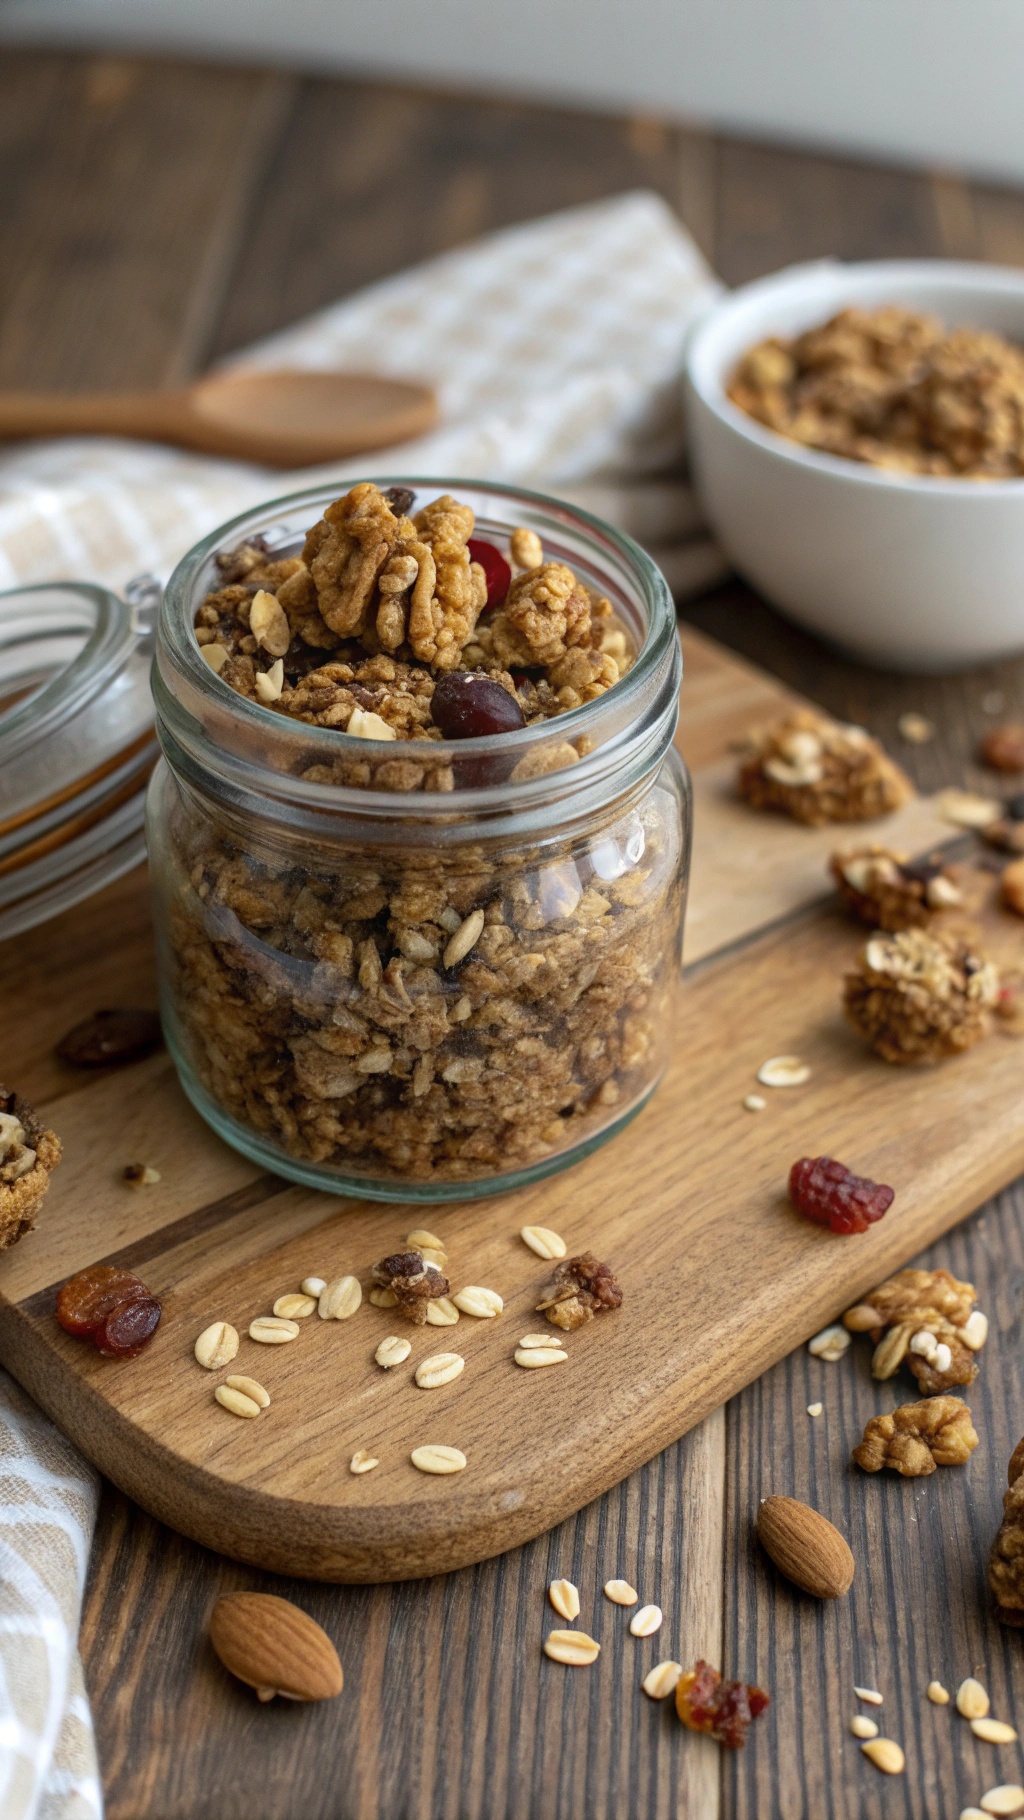
Nutty granola clusters are a fantastic addition to your DIY protein snack box. They offer a satisfying crunch and a mix of flavors that make snacking enjoyable. These clusters are packed with nuts, oats, and a hint of sweetness, making them perfect for any time of the day.
Making your own granola clusters is simple and allows you to customize the ingredients to your liking. You can use your favorite nuts, seeds, and dried fruits. The image shows a jar filled with golden-brown granola clusters, surrounded by scattered oats and nuts, emphasizing the wholesome ingredients used.
These clusters are not just tasty; they are also nutritious. They provide energy and protein, making them an ideal snack for busy days. Enjoy them on their own, or mix them into yogurt for a delicious breakfast or dessert.

Fruit and nut energy balls are a fantastic way to get a quick boost of energy. These little bites are not only colorful and inviting but also packed with nutrients. The image shows a delightful assortment of energy balls, each with its unique flavor and texture. You can see vibrant colors from ingredients like berries and greens, making them visually appealing.
These energy balls are perfect for a snack on the go or a post-workout treat. They combine the natural sweetness of fruits with the crunch of nuts, creating a satisfying and healthy option. Plus, they are easy to make at home, allowing you to customize them to your taste.
To make your own refreshing fruit and nut energy balls, gather your favorite nuts, dried fruits, and some oats. You can also add spices like cinnamon or turmeric for an extra kick. Blend everything together, roll them into balls, and you’re ready to enjoy!
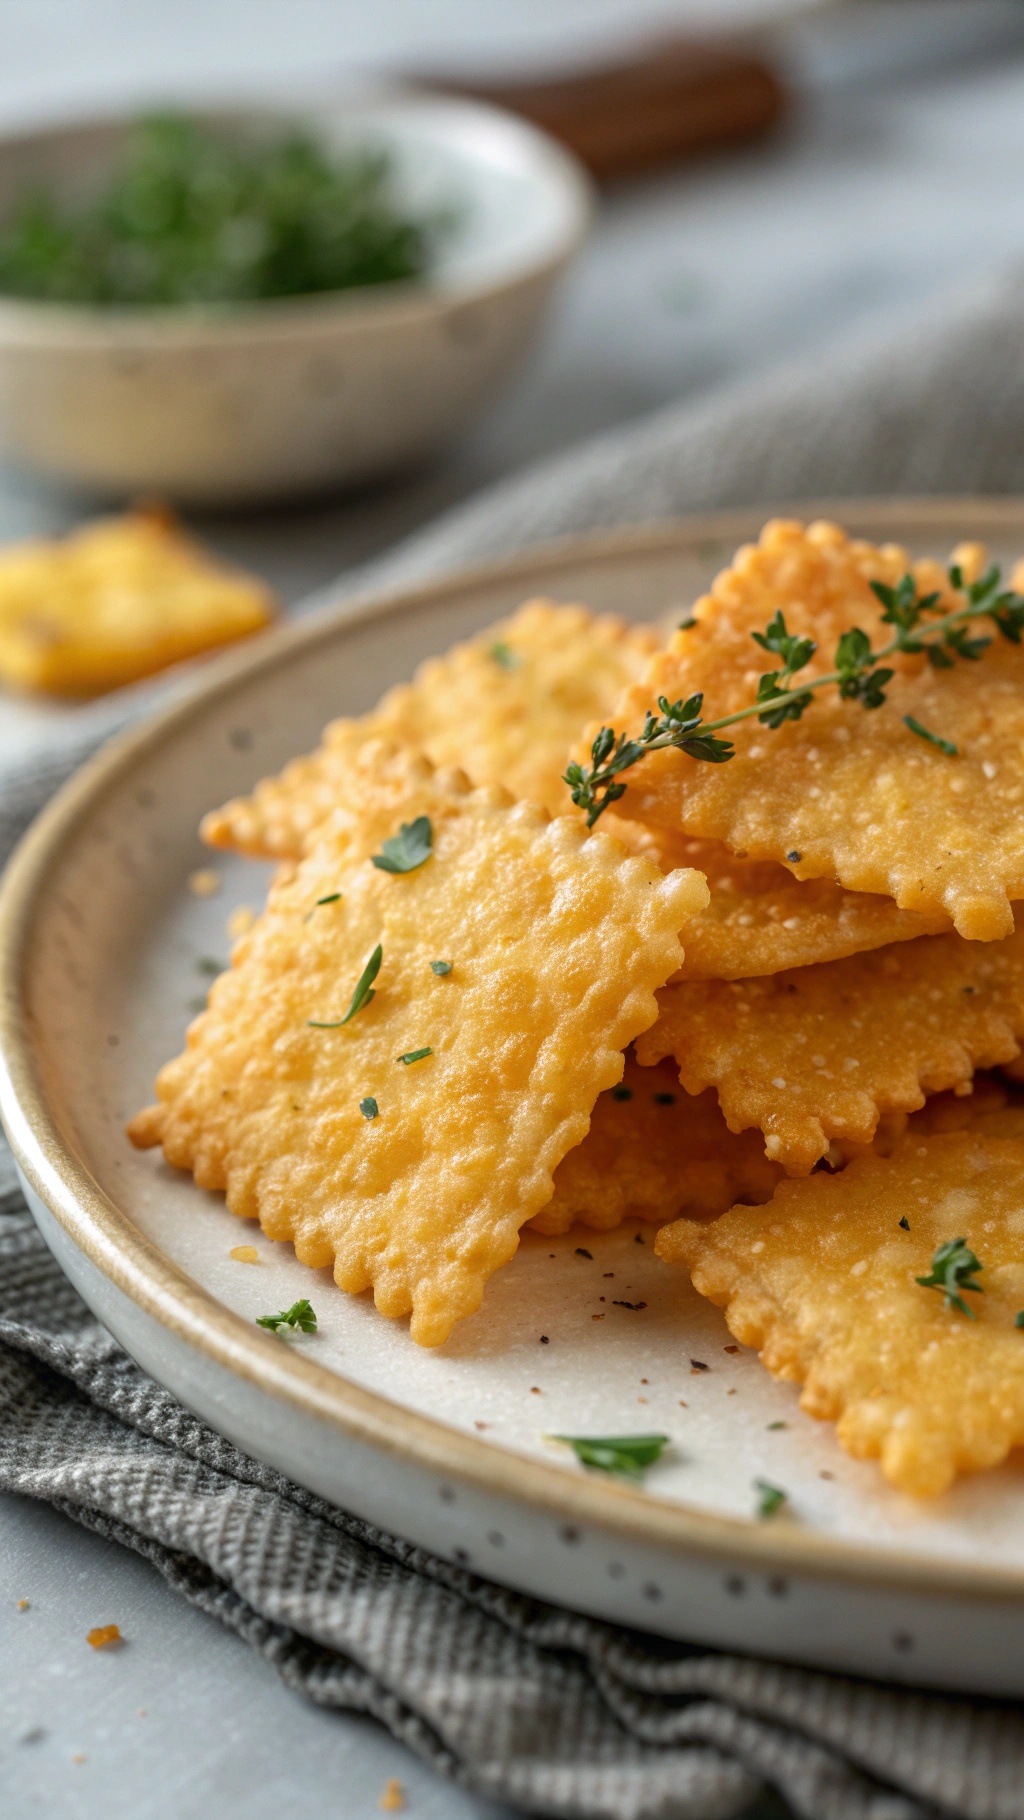
Cheese crisps are a fantastic way to enjoy a crunchy snack without the guilt. These little bites are packed with flavor and are super easy to make. The image shows a plate of golden, crispy cheese squares, perfectly baked to a delightful crunch. They are garnished with fresh herbs, adding a pop of color and a hint of freshness.
These cheese crisps are not just tasty; they are also versatile. You can enjoy them on their own, pair them with dips, or even use them as a topping for soups and salads. The best part? They are low in carbs and high in protein, making them an ideal snack for anyone looking to maintain a healthy lifestyle.
Making these crisps at home is simple. You just need a few ingredients and a bit of time. Let’s get into the recipe!
Enjoy your homemade cheese crisps as a delicious snack or a crunchy addition to your meals!
Comments
Post a Comment