on
Dinner Ideas
- Get link
- X
- Other Apps
Picnics are a great way to enjoy the outdoors without breaking the bank. With just $20, you can whip up some tasty and budget-friendly picnic foods that will keep everyone satisfied and happy. From easy sandwiches to delicious snacks, here are some simple ideas that won’t empty your wallet!
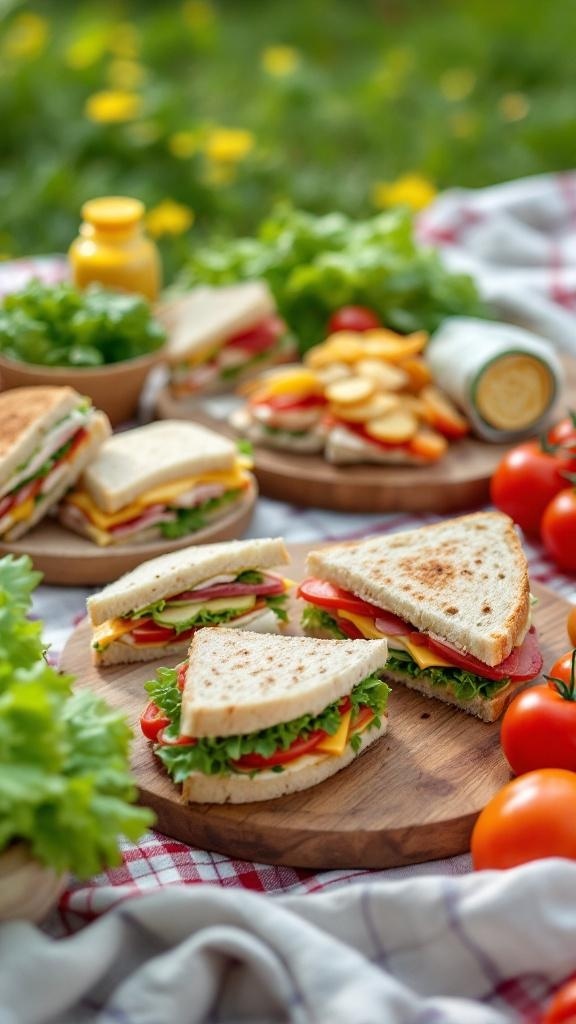
When planning a picnic, savory sandwiches are a must-have. They are easy to make, transport, and eat outdoors. The image showcases a delightful spread of colorful sandwiches, each packed with fresh ingredients. You can see layers of lettuce, tomatoes, cheese, and deli meats, all nestled between slices of bread. This variety not only looks appealing but also offers something for everyone.
Making sandwiches for your picnic doesn’t have to be expensive. You can create delicious options using budget-friendly ingredients. Think about using whole grain bread, fresh veggies, and your favorite spreads. These sandwiches can be customized to suit different tastes, whether you prefer classic ham and cheese or a veggie delight.
To keep things simple, consider preparing a few different types of sandwiches. You can make a classic turkey and cheese, a veggie sandwich with hummus, or even a simple peanut butter and jelly for the kids. Pair them with some chips and a refreshing drink, and you have a complete meal that won’t break the bank.
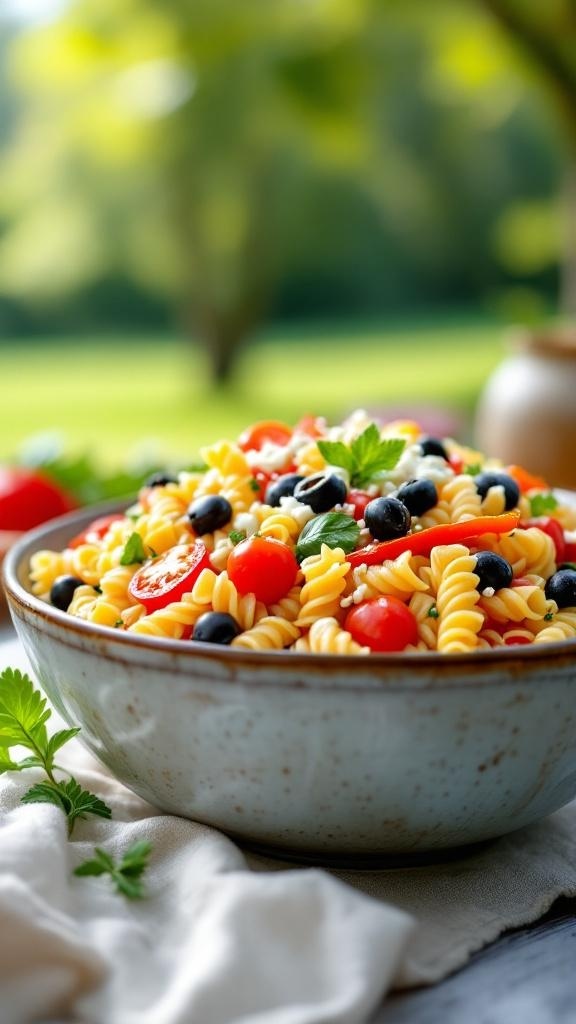
Pasta salads are a fantastic choice for picnics. They are easy to prepare, filling, and can be made with a variety of ingredients. The image shows a vibrant bowl of pasta salad, featuring colorful rotini pasta, juicy cherry tomatoes, and black olives. Fresh herbs add a nice touch, making it not just tasty but also visually appealing.
This dish is perfect for a budget-friendly picnic. You can whip it up for under $20 and feed a crowd. Plus, it’s versatile! You can mix and match ingredients based on what you have at home or what’s in season.
To make your own filling pasta salad, gather your favorite ingredients. You can use any type of pasta, fresh vegetables, and a simple dressing. This way, you can customize it to suit your taste and dietary needs.
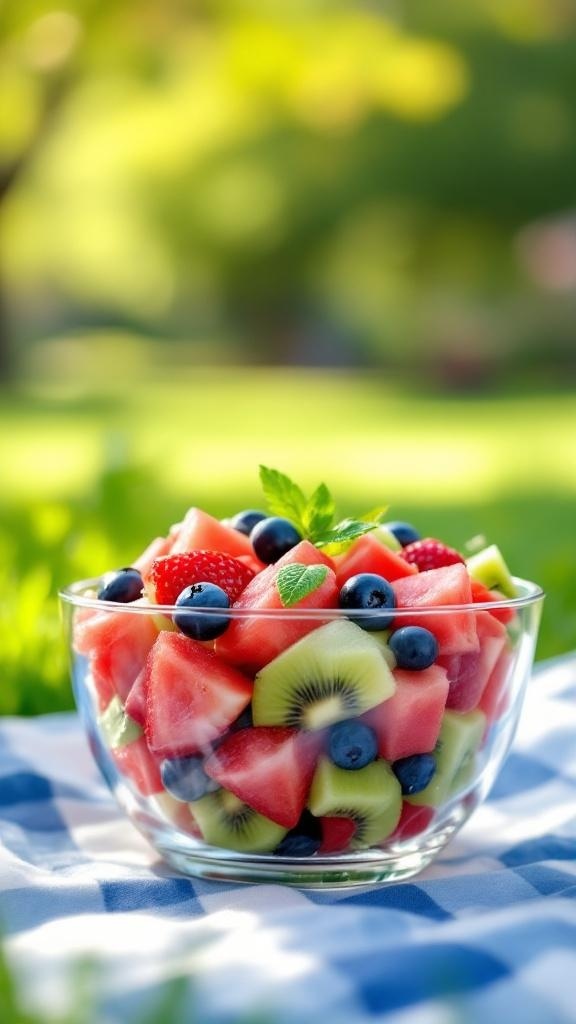
Fruit salads are a fantastic way to add a refreshing touch to your picnic. They are colorful, tasty, and easy to prepare. Picture a bowl filled with juicy watermelon, sweet strawberries, and tangy blueberries. This vibrant mix not only looks great but also tastes amazing!
Making a fruit salad is simple. You can use whatever fruits you love or have on hand. The best part? You can prepare it ahead of time and let it chill in the fridge until you're ready to go. This way, you’ll have a sweet treat waiting for you at your picnic.
Here’s a quick and easy recipe for a delightful fruit salad that will impress your friends and family without breaking the bank!
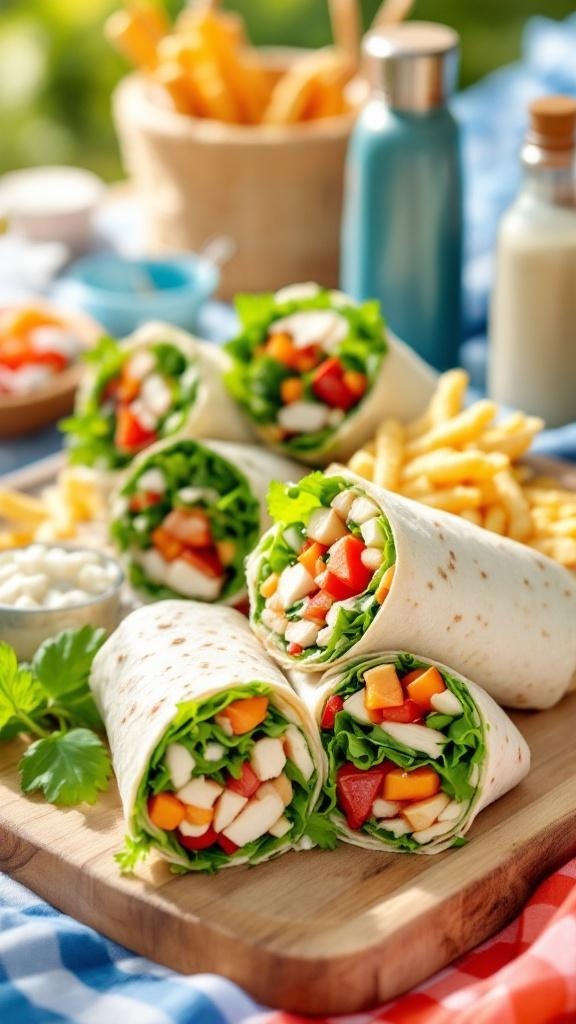
Wraps are a fantastic option for a budget-friendly picnic. They are easy to make, portable, and can be filled with a variety of ingredients. The image shows colorful wraps filled with fresh veggies, making them not only tasty but also visually appealing.
To create your own delicious wraps, start with a soft tortilla. You can use whole wheat, spinach, or regular flour tortillas based on your preference. Layer in some leafy greens like lettuce or spinach, add your choice of protein such as grilled chicken or beans, and top it off with diced vegetables like bell peppers, cucumbers, and carrots. A drizzle of your favorite dressing or hummus can add extra flavor.
These wraps are perfect for picnics because they are easy to hold and eat. You can prepare them ahead of time and wrap them in foil or parchment paper for easy transport. Plus, they can be made for under $20, making them a great choice for a budget-friendly outing.
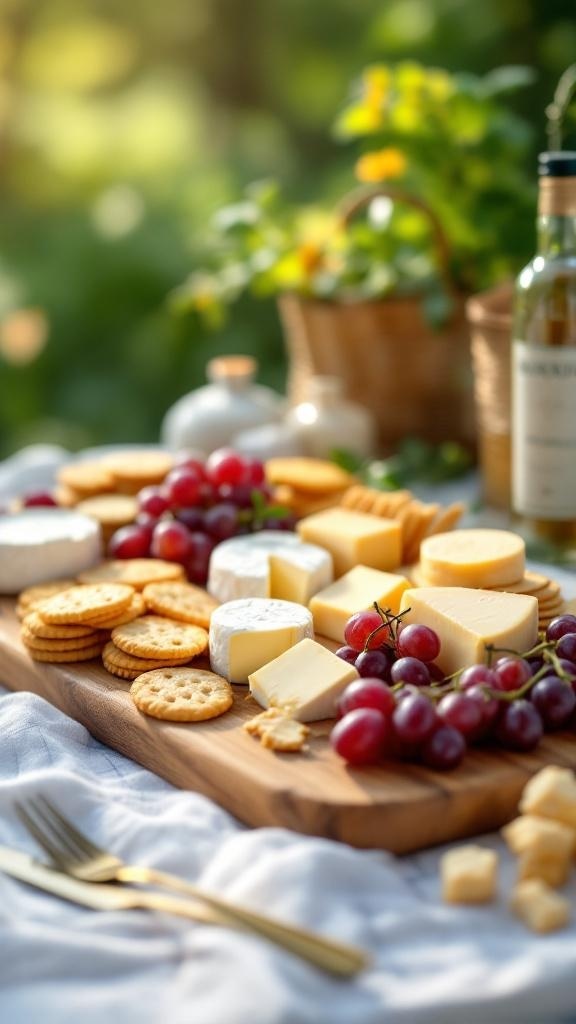
Cheese and crackers are a classic picnic staple that never disappoints. They are easy to prepare, affordable, and can be customized to suit your taste. The image showcases a beautiful spread of various cheeses, crackers, and fresh grapes, making it a delightful addition to any outdoor meal.
When choosing cheeses, consider a mix of textures and flavors. Soft cheeses like brie pair well with crunchy crackers, while sharper cheeses like cheddar offer a nice contrast. Adding some fresh fruit, like grapes, not only enhances the flavor but also adds a pop of color to your picnic spread.
Don't forget to pack a small knife for slicing the cheese and a cutting board for easy serving. This simple yet elegant pairing can be enjoyed by everyone, making it a perfect choice for gatherings.
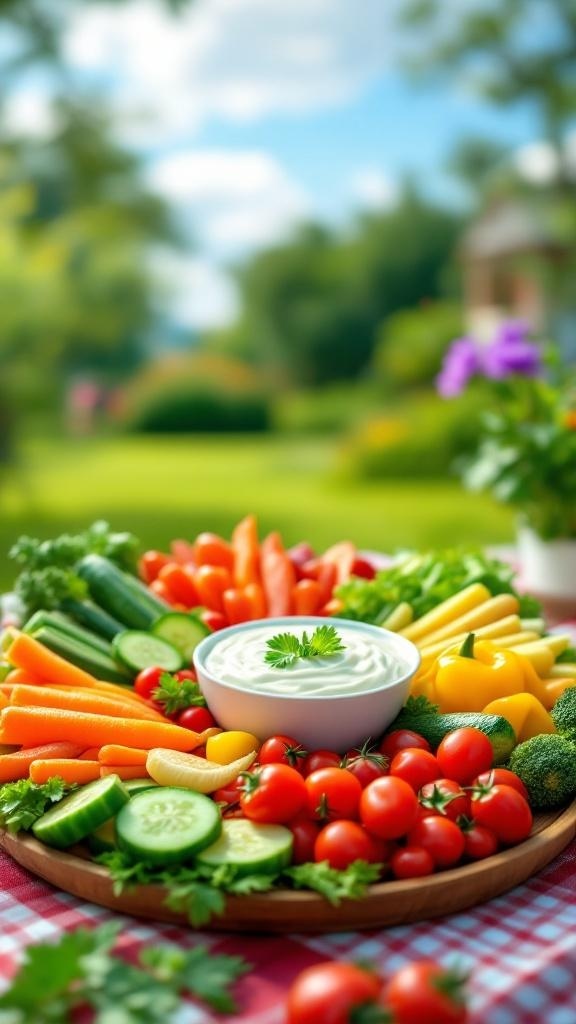
Veggie platters are a fantastic way to keep things fresh and healthy during your picnic. They are colorful, easy to prepare, and perfect for sharing. Just look at that vibrant spread! You’ll find a variety of vegetables like cucumbers, carrots, bell peppers, and cherry tomatoes, all beautifully arranged around a bowl of creamy dip.
Creating a veggie platter is simple and budget-friendly. You can pick seasonal vegetables to save even more. Arrange them on a large platter, and don’t forget the dip! A yogurt-based dip or hummus pairs wonderfully with crunchy veggies. This not only adds flavor but also makes snacking more fun.
For a picnic, you can prepare the platter ahead of time. Just cover it with plastic wrap and keep it chilled until you’re ready to go. This way, you’ll have a healthy snack option that everyone will enjoy.
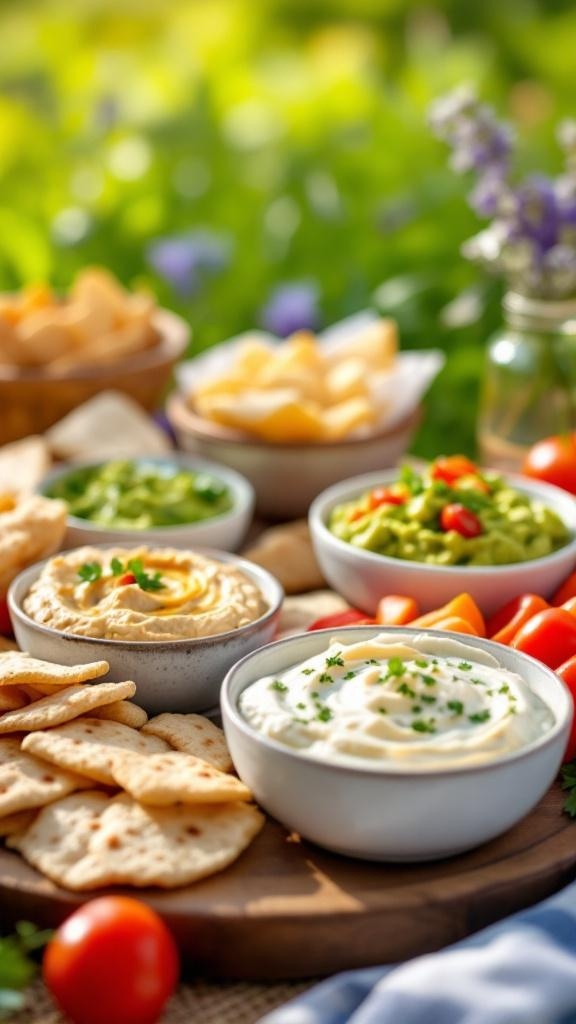
Picnics are all about enjoying good food in a relaxed setting. Homemade dips can elevate your snack game without breaking the bank. Picture a sunny day with friends, surrounded by delicious dips and crispy snacks. It’s a simple yet satisfying way to enjoy your time outdoors.
In the image, you can see a variety of colorful dips like guacamole, hummus, and a creamy dip, all paired with crunchy crackers and fresh veggies. These dips not only look inviting but also offer a range of flavors that everyone will love. Making your own dips is easy and can be done for under $20!
Let’s get into a simple recipe for a classic hummus that pairs perfectly with pita chips or fresh veggies. It’s creamy, flavorful, and a crowd-pleaser!
Struggling to Stay on Track with Your Eating?
You’re not alone. One of the biggest obstacles I see people
face is not knowing what to eat. Between busy schedules, endless diet
advice online, and trying to cook healthy meals that actually taste good—it’s
easy to feel stuck or overwhelmed.
That’s why I created my 21 Quick & Easy Custom
Low-Calorie Meal Plans Program. These plans are built specifically for
you—your goals, your lifestyle, and your food preferences. You won’t find
any cookie-cutter diets here. Just real, satisfying meals that help you stay
full, energized, and on track without the stress.
✅ No more guessing.
✅
No more skipping meals or eating “diet food” you hate.
✅
Just a clear, doable plan that fits your life.
👉 Ready to eat better,
feel better, and finally make progress? [Click here to get your custom meal plans today.]
Not Seeing the Inches Drop No Matter What You Do?
If you’re working out but still not seeing the results in
the mirror, I hear you. So many people come to me after months of doing cardio
or random workouts—and still struggling to lose inches or tone up. The truth
is, your body needs more than just movement. It needs a proven strategy.
My 8-Week Workout Program to Lose Inches is designed
to do just that—burn fat, tighten up, and give you visible results.
These workouts are fun, effective, and designed for real people with real
lives. Whether you’re getting back into fitness or ready to take it to the next
level, this program gives you a clear path to success.
✅ Just 8 weeks to build strength,
confidence, and a fitter shape.
✅
No endless cardio.
✅
No gym required (unless you want it).
👉 If you're ready to
drop inches and feel amazing in your own skin, [click here to start the 8-Week Workout Program].
Comments
Post a Comment