on
Dinner Ideas
- Get link
- X
- Other Apps
If you've ever thought vegan desserts lack flavor or richness, think again! "Easy Vegan Desserts That Don’t Taste Vegan" is here to prove that plant-based treats can be just as indulgent and satisfying as their dairy-laden counterparts. Get ready to whip up some deliciously simple recipes that everyone will love, vegan or not!

Chocolate avocado mousse is a delightful treat that surprises everyone with its creamy texture and rich flavor. This dessert looks luxurious, yet it’s made with simple ingredients. The combination of ripe avocados and cocoa powder creates a smooth, velvety mousse that feels indulgent without the guilt.
The image showcases a beautifully presented mousse topped with a sprig of fresh mint and chocolate shavings, making it not just tasty but also visually appealing. The earthy tones of the avocado and the deep brown of the chocolate blend perfectly, inviting you to take a spoonful.
This dessert is perfect for any occasion, whether you’re hosting a dinner party or just craving something sweet. It’s vegan, so everyone can enjoy it, and it’s so delicious that no one will guess it’s made with avocado!
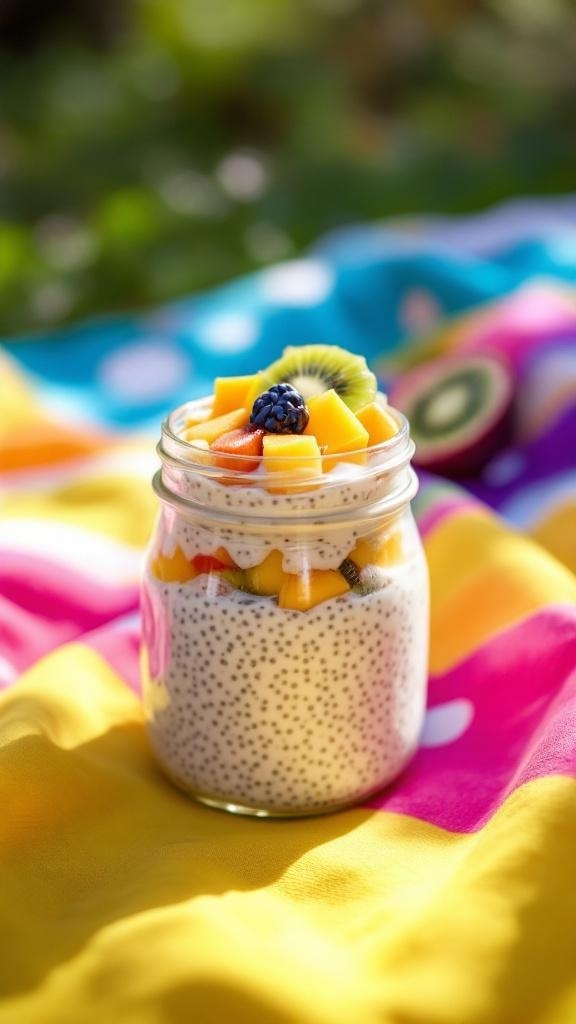
Coconut chia seed pudding is a delightful treat that’s perfect for any time of day. This pudding is creamy, refreshing, and packed with nutrients. The combination of coconut milk and chia seeds creates a smooth texture that feels indulgent without being heavy.
The image showcases a beautiful jar of coconut chia seed pudding topped with vibrant fruits like mango, kiwi, and berries. The colorful fruits not only add a pop of color but also enhance the flavor, making each bite a burst of freshness. This dessert is not just visually appealing; it’s also incredibly easy to make.
Chia seeds are known for their health benefits, including being high in omega-3 fatty acids and fiber. When mixed with coconut milk, they swell and create a pudding-like consistency that’s satisfying and delicious. This dessert is a great way to enjoy a sweet treat while staying healthy.
Let’s get into how you can whip up this tasty coconut chia seed pudding at home!

Banana nice cream is a fun and easy way to enjoy a creamy dessert without any dairy. This treat is made from frozen bananas, blended until smooth, creating a texture similar to soft-serve ice cream. You can top it with your favorite fruits, nuts, or even a drizzle of chocolate for extra flavor.
In the image, you can see a delicious bowl of banana nice cream, garnished with crunchy nuts and fresh berries. The vibrant colors of the toppings make it look even more inviting. This dessert is not only tasty but also packed with nutrients, making it a guilt-free indulgence.
Making banana nice cream is super simple. Just slice ripe bananas, freeze them, and blend when you’re ready to enjoy. It’s a fantastic way to use up overripe bananas, and you can customize it with various add-ins like cocoa powder or peanut butter.
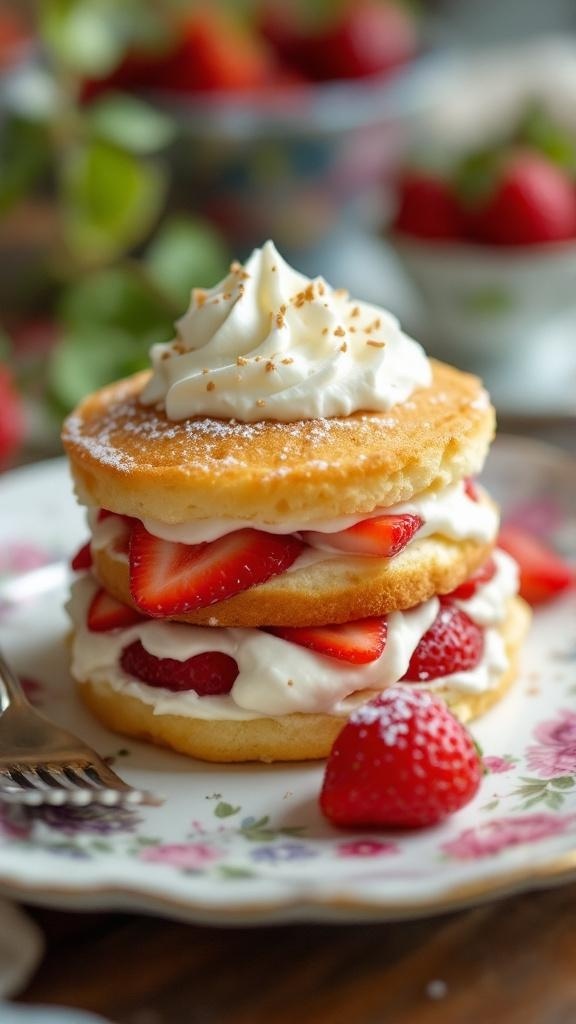
Vegan strawberry shortcake is a delightful treat that surprises everyone with its rich flavor. This dessert features layers of fluffy cake, fresh strawberries, and creamy vegan whipped topping. It’s perfect for summer gatherings or a cozy night in.
The image shows a beautifully stacked shortcake, showcasing the vibrant red strawberries peeking through the layers. The whipped topping adds a light and airy touch, making it visually appealing and mouthwatering. The floral plate adds a charming touch, enhancing the dessert's overall presentation.
Making this vegan strawberry shortcake is simple and fun. You’ll impress your friends and family with a dessert that tastes just as good as the traditional version, if not better!

Berry crisp is a classic dessert that brings comfort and joy. This vegan version is just as tasty, proving that plant-based treats can be delicious. The image shows a warm, bubbling berry crisp topped with a golden oat crumble. A scoop of creamy vegan ice cream sits on top, ready to melt into the warm berries.
To make this delightful dessert, you’ll need fresh or frozen berries, oats, flour, and a few other simple ingredients. The combination of sweet and tart berries with a crunchy topping is sure to please everyone, even those who aren’t vegan.
Let’s get started on this easy recipe that will have your taste buds dancing!

Vegan pumpkin pie is a delightful treat that captures the essence of fall. The rich, creamy filling made from pumpkin puree is perfectly spiced with cinnamon, nutmeg, and ginger. This pie is not just for vegans; it’s a crowd-pleaser that everyone will love.
The crust is flaky and buttery, made without any animal products, yet it holds up beautifully. Topped with a dollop of coconut whipped cream, this pie is a showstopper at any gathering. The vibrant orange color of the filling, paired with the golden crust and a sprinkle of fall leaves, makes it visually appealing too.
Whether you’re hosting a holiday dinner or just craving something sweet, this vegan pumpkin pie is sure to impress. It’s simple to make and can be enjoyed by anyone, regardless of dietary preferences.
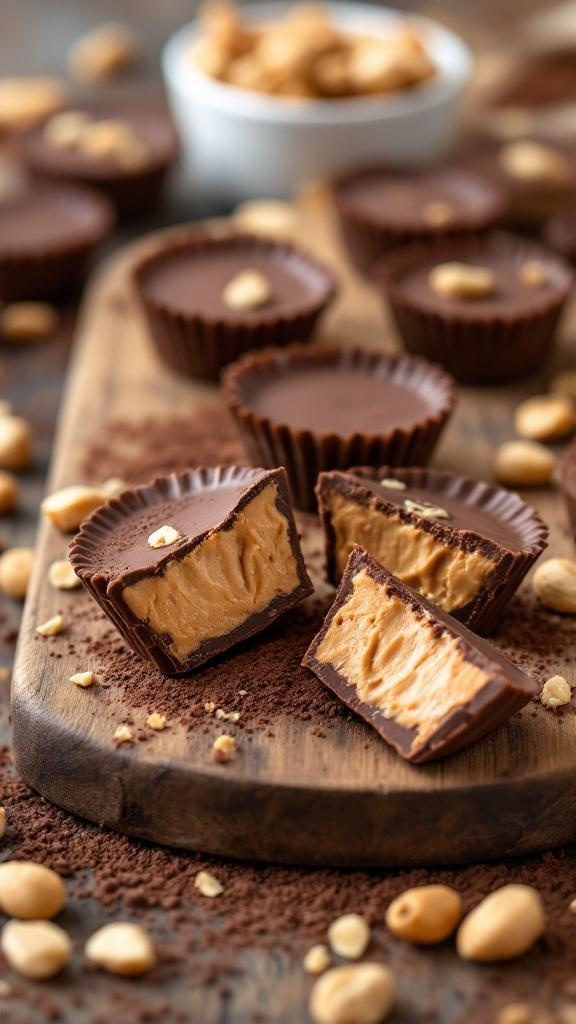
Vegan peanut butter cups are a delightful treat that everyone can enjoy. These little cups are rich, creamy, and oh-so-satisfying. The image shows beautifully crafted peanut butter cups, with a smooth filling peeking out from the chocolate shell. They look tempting and are perfect for satisfying a sweet tooth.
Making these vegan treats is simple and fun. You’ll need just a few ingredients, and the process is quick. The combination of chocolate and peanut butter is classic and loved by many. Plus, these cups don’t taste vegan at all!
Whether you’re hosting a gathering or just craving something sweet, these peanut butter cups are sure to impress. They’re a great way to enjoy a dessert that feels indulgent without any animal products.
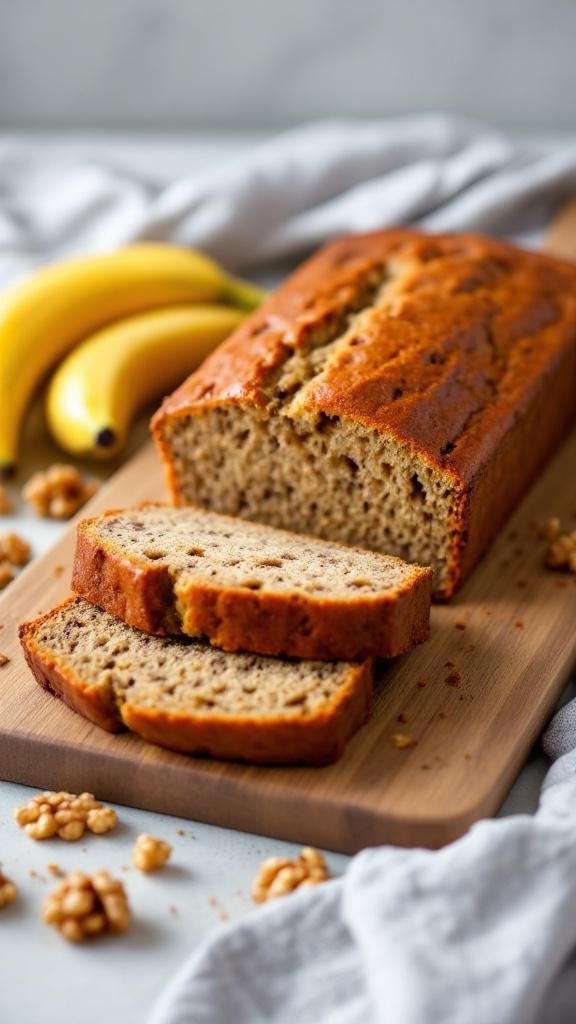
Vegan banana bread is a delightful treat that’s easy to make and incredibly satisfying. The image shows a beautifully baked loaf, golden brown on the outside with a soft, moist interior. Slices reveal the speckled goodness of ripe bananas, making it hard to resist. This banana bread is perfect for breakfast, a snack, or even dessert.
What makes this recipe special is its simplicity. You don’t need fancy ingredients or complicated steps. Just gather some ripe bananas, flour, and a few pantry staples. The result is a loaf that’s not only vegan but also full of flavor. It’s a great way to use up overripe bananas, turning them into something delicious.
Whether you enjoy it plain or with a spread of nut butter, this banana bread will surprise you with its rich taste. It’s a fantastic option for those who think vegan desserts can’t be indulgent. So, let’s get baking!
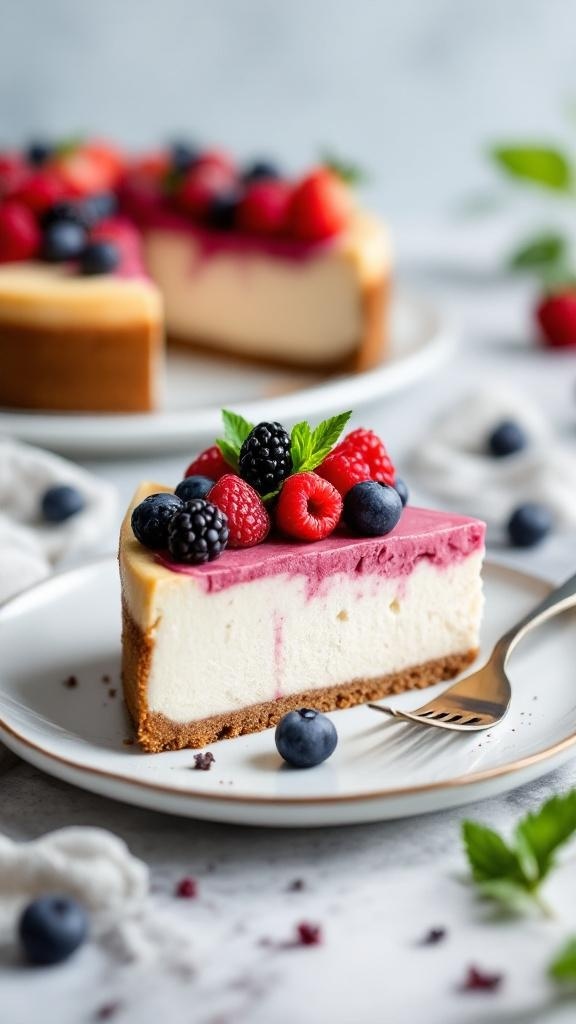
Vegan desserts often get a bad rap, but this creamy vegan cheesecake is here to change that! Just look at that slice, topped with fresh berries and a vibrant swirl of berry sauce. It’s not just a treat for the eyes; it’s a delight for your taste buds too.
This cheesecake has a rich, smooth texture that rivals any traditional cheesecake. The crust is made from simple ingredients, and the filling is creamy, thanks to cashews and coconut cream. It’s perfect for any occasion, whether you’re hosting a dinner party or just treating yourself.
What’s great about this recipe is how easy it is to make. You don’t need any fancy equipment, just a blender and a springform pan. Plus, it’s a no-bake recipe, so you can whip it up without turning on the oven.
Ready to impress your friends and family? Let’s get to the recipe!
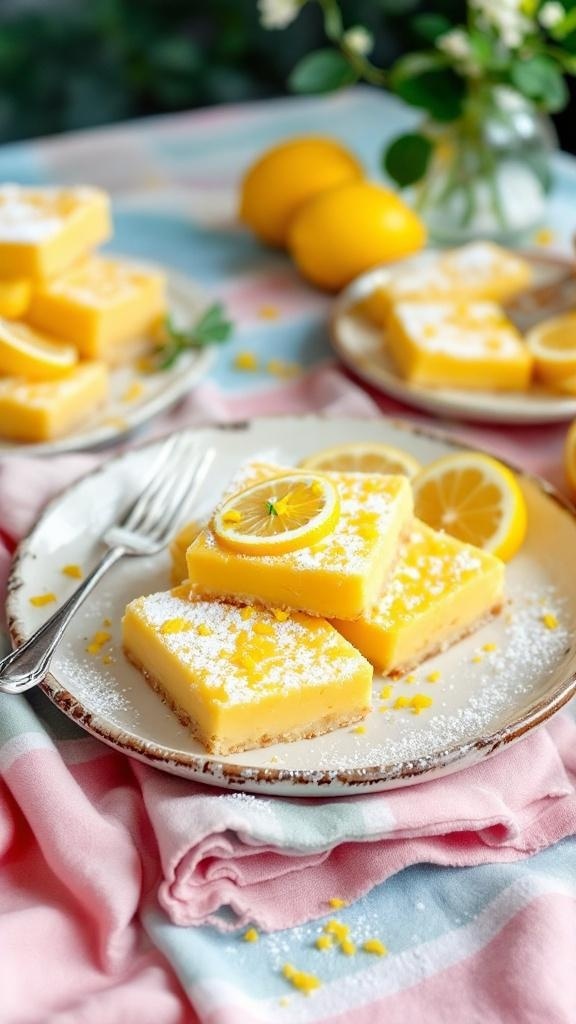
Vegan lemon bars are a delightful treat that can brighten any day. These bars are rich, tangy, and sweet, making them a perfect dessert for any occasion. The image showcases beautifully arranged lemon bars, topped with a sprinkle of powdered sugar and garnished with fresh lemon slices. The vibrant yellow color is inviting and hints at the refreshing flavor inside.
Making vegan lemon bars is simple and fun. You don’t need fancy ingredients to whip up this delicious dessert. Just a few basic items will do the trick. The crust is usually made from oats or nuts, while the filling is a zesty blend of lemon juice, zest, and a creamy base that keeps it smooth and satisfying.
These bars are not just for vegans; anyone can enjoy them. They are perfect for gatherings, picnics, or just a sweet treat at home. The best part? They taste just as good as traditional lemon bars, if not better!
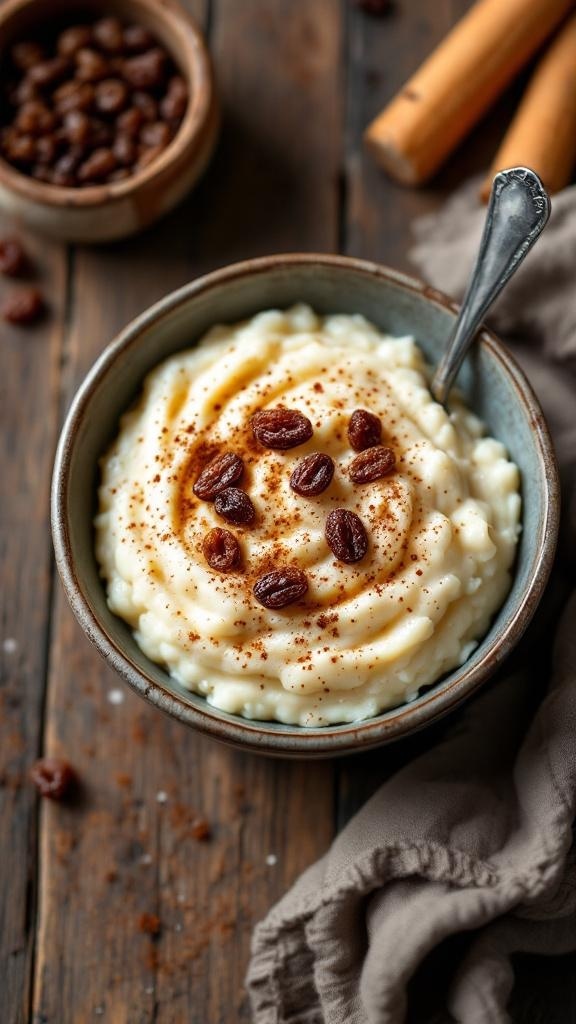
Vegan rice pudding is a delightful twist on a classic dessert. This creamy treat is rich and comforting, perfect for any occasion. The image showcases a bowl of rice pudding topped with a sprinkle of cinnamon and a few raisins, making it look as inviting as it tastes.
Making vegan rice pudding is simple and requires just a few ingredients. You’ll enjoy the warm flavors and creamy texture that remind you of home. It's a dessert that everyone will love, whether they follow a vegan diet or not.
Let’s get to the recipe so you can whip up this delicious dessert!
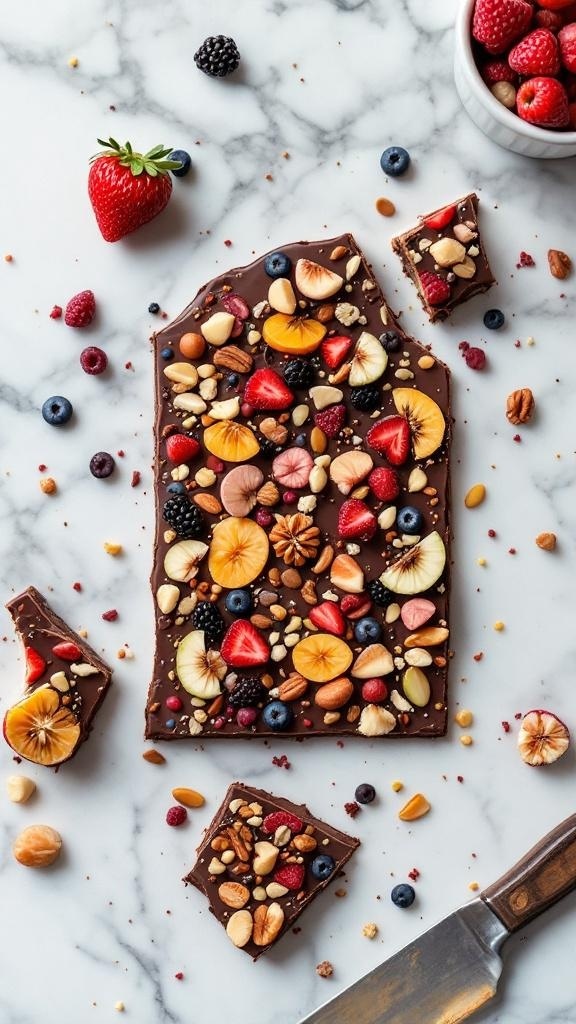
Vegan chocolate bark is a treat that surprises everyone with its rich flavor and delightful crunch. This version is topped with an array of colorful fruits and nuts, making it not only tasty but also visually appealing. The combination of dark chocolate with fresh berries and crunchy nuts creates a perfect balance of sweetness and texture.
The beauty of this dessert lies in its simplicity. You can customize the toppings based on your preferences or what you have on hand. Think strawberries, blueberries, and almonds, all beautifully arranged on a smooth layer of chocolate. It’s a great way to enjoy a sweet treat without any guilt!
Making this chocolate bark is quick and easy. Melt the chocolate, spread it out, and sprinkle your favorite toppings. Let it set, break it into pieces, and you’re ready to enjoy a delicious vegan dessert that doesn’t taste vegan at all!
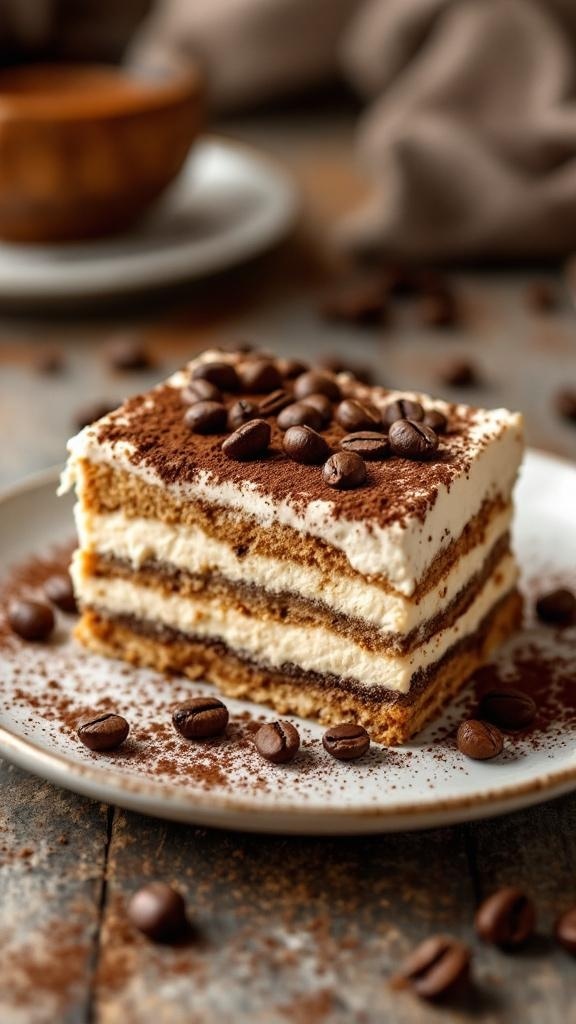
Vegan tiramisu is a delightful twist on the classic Italian dessert. It offers layers of rich coffee flavor and creamy texture without any dairy. The image showcases a beautifully plated slice of vegan tiramisu, topped with coffee beans and a dusting of cocoa powder. The layers are perfectly visible, showing off the soft sponge and luscious cream.
This dessert is perfect for anyone looking to enjoy a sweet treat that feels indulgent yet is entirely plant-based. The combination of coffee-soaked layers and creamy filling makes it hard to believe it’s vegan!
Struggling to Stay on Track with Your Eating?
You’re not alone. One of the biggest obstacles I see people
face is not knowing what to eat. Between busy schedules, endless diet
advice online, and trying to cook healthy meals that actually taste good—it’s
easy to feel stuck or overwhelmed.
That’s why I created my 21 Quick & Easy Custom
Low-Calorie Meal Plans Program. These plans are built specifically for
you—your goals, your lifestyle, and your food preferences. You won’t find
any cookie-cutter diets here. Just real, satisfying meals that help you stay
full, energized, and on track without the stress.
✅ No more guessing.
✅
No more skipping meals or eating “diet food” you hate.
✅
Just a clear, doable plan that fits your life.
👉 Ready to eat better,
feel better, and finally make progress? [Click here to get your custom meal plans today.]
Not Seeing the Inches Drop No Matter What You Do?
If you’re working out but still not seeing the results in
the mirror, I hear you. So many people come to me after months of doing cardio
or random workouts—and still struggling to lose inches or tone up. The truth
is, your body needs more than just movement. It needs a proven strategy.
My 8-Week Workout Program to Lose Inches is designed
to do just that—burn fat, tighten up, and give you visible results.
These workouts are fun, effective, and designed for real people with real
lives. Whether you’re getting back into fitness or ready to take it to the next
level, this program gives you a clear path to success.
✅ Just 8 weeks to build strength,
confidence, and a fitter shape.
✅
No endless cardio.
✅
No gym required (unless you want it).
👉 If you're ready to
drop inches and feel amazing in your own skin, [click here to start the 8-Week Workout Program].
Comments
Post a Comment