on
Dinner Ideas
- Get link
- X
- Other Apps
Getting kids excited about healthy eating doesn't have to be a battle! This guide offers simple and tasty meal ideas that even picky eaters will happily devour. Packed with fun recipes and smart tips, creating nourishing dishes for your little ones can be a breeze.

Mini veggie pizzas are a fun and tasty way to get kids excited about healthy eating. These bite-sized delights are colorful and packed with nutrients. They are perfect for snack time or even as a light meal. The best part? Kids can help make them, which makes the process even more enjoyable!
Start with a base like whole grain pita or English muffins. This gives a nice crunch and adds fiber. Spread some tomato sauce on top, and let your kids choose their favorite veggies. Bell peppers, olives, and spinach are great options. Top it off with a sprinkle of cheese for that melty goodness.
These mini pizzas are not only delicious but also allow kids to express their creativity. Each pizza can be a unique masterpiece, making it more likely they’ll want to eat what they’ve made. Plus, they can be baked in just a few minutes!
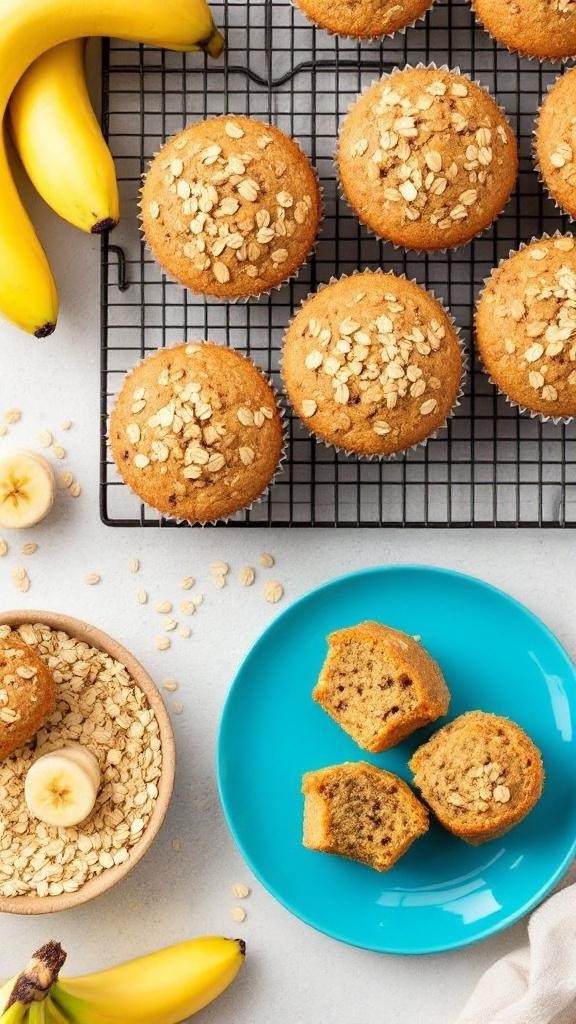
These banana oatmeal muffins are a fantastic choice for breakfast, especially for kids who can be picky eaters. They are soft, moist, and packed with flavor. The combination of bananas and oats makes them a nutritious option that kids will love.
In the image, you can see freshly baked muffins sitting on a cooling rack. They have a lovely golden color and are topped with oats, giving them a delightful texture. Nearby, there are ripe bananas and a bowl of oats, highlighting the simple ingredients used in this recipe.
These muffins are not just tasty; they are also easy to make. You can whip them up quickly, making them perfect for busy mornings. Plus, they can be stored for a few days, so you can prepare them in advance.
These banana oatmeal muffins are sure to be a hit with your kids. They are not only quick to make but also a healthy breakfast option that everyone will enjoy!
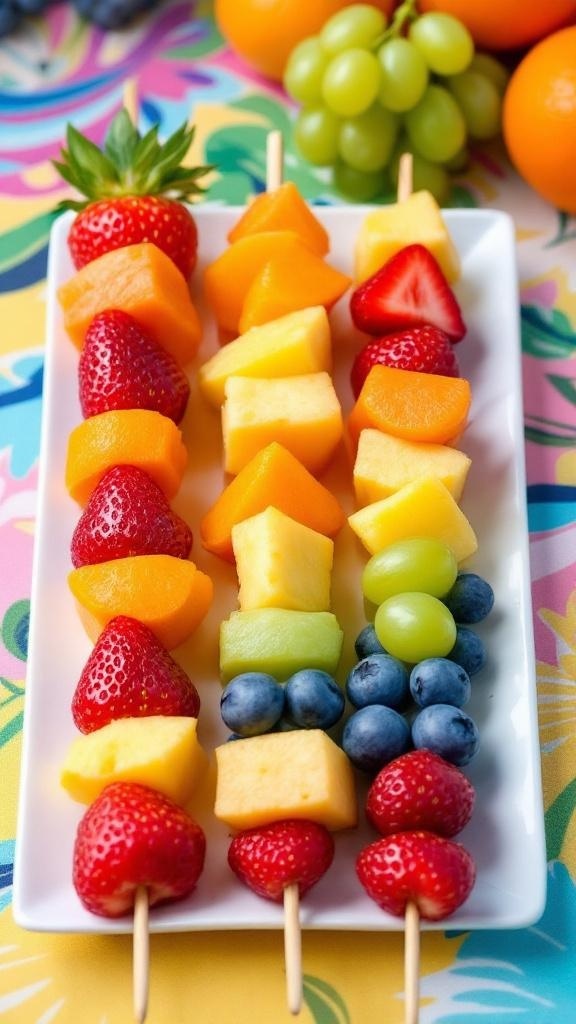
Rainbow fruit skewers are a colorful and fun way to get kids excited about healthy eating. These skewers are not only visually appealing, but they also pack a variety of flavors and nutrients. Each skewer can be customized with your child's favorite fruits, making it a perfect choice for picky eaters.
To make these skewers, you can use a mix of strawberries, cantaloupe, honeydew, pineapple, blueberries, and grapes. The vibrant colors will catch the eye and make snack time more enjoyable. Plus, they are easy to prepare and can be a fun activity for kids to help with.
Simply cut the fruits into bite-sized pieces and let your kids arrange them on skewers. This hands-on approach can encourage them to try new fruits they might not usually eat. Serve these skewers as a snack, dessert, or even as part of a lunchbox.
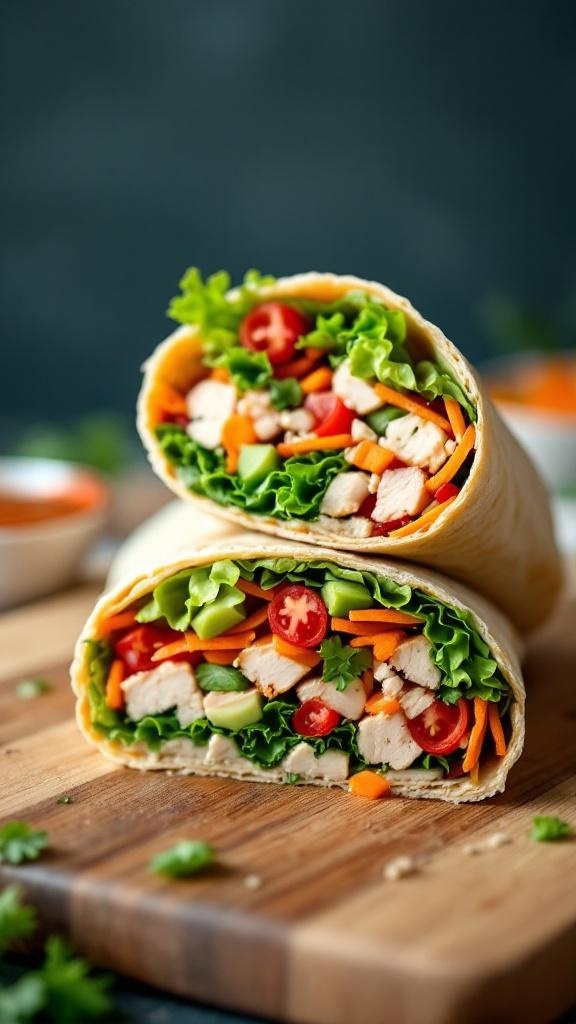
These turkey and veggie wraps are perfect for busy days. They are colorful, tasty, and packed with nutrients. Kids love the crunch of fresh veggies and the savory turkey. Plus, they are easy to make and can be customized to suit your little one's taste.
The wraps feature a soft tortilla filled with lean turkey, crisp lettuce, juicy tomatoes, and crunchy carrots. You can add any veggies your kids enjoy, making it a flexible meal option. This way, even picky eaters can find something they like!
To make these wraps, simply layer your ingredients on a tortilla, roll it up tightly, and slice it in half. They are great for lunchboxes or quick snacks. Serve with a side of hummus or yogurt dip for extra fun!
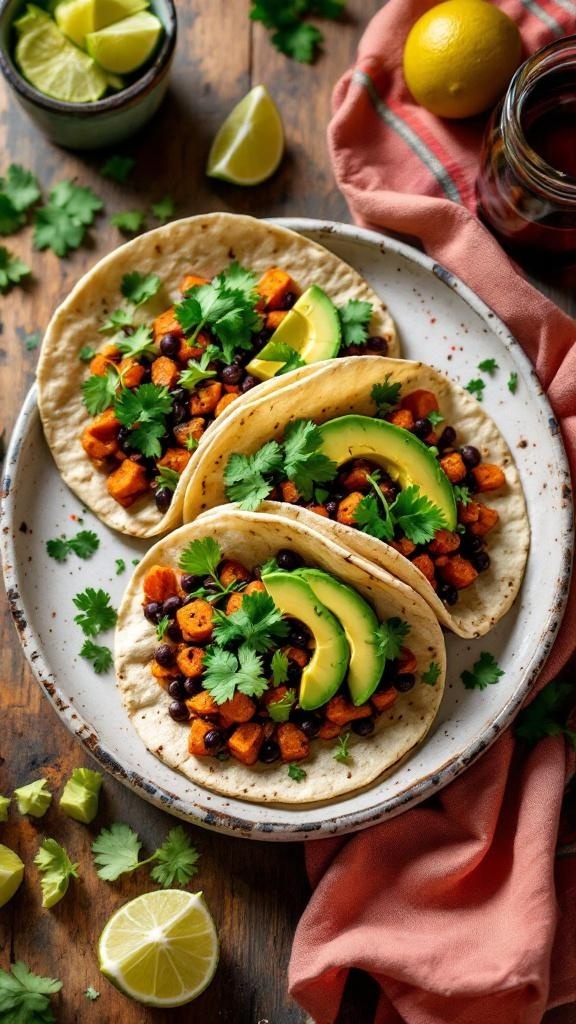
Sweet potato and black bean tacos are a fun and tasty way to get kids excited about healthy eating. These tacos are colorful and packed with nutrients, making them a great choice for picky eaters. The combination of sweet potatoes and black beans creates a satisfying filling that is both hearty and delicious.
The image shows three soft tortillas filled with roasted sweet potatoes, black beans, and fresh cilantro. The bright green avocado slices on top add a creamy texture and a pop of color. Lime wedges and a small bowl of salsa are placed nearby, inviting everyone to customize their tacos. This meal is not only visually appealing but also easy to prepare.
Making these tacos is a breeze. Simply roast the sweet potatoes, mix them with black beans, and pile everything into warm tortillas. Kids can help assemble their own tacos, making mealtime interactive and fun. Plus, they can add their favorite toppings, like avocado or salsa, to make it their own.
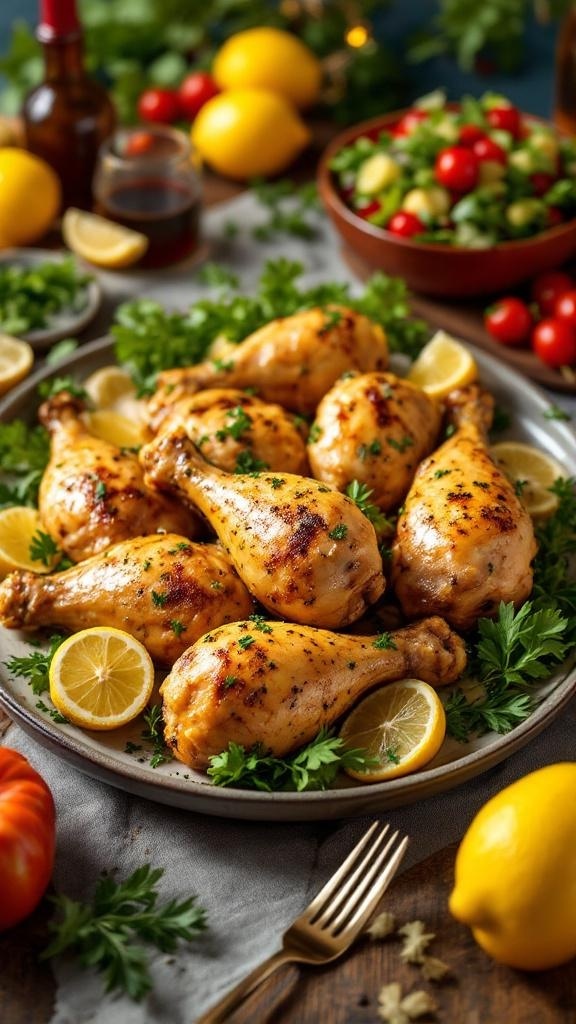
These Zesty Lemon Garlic Chicken Drumsticks are a hit at family dinners, especially for those picky eaters. The vibrant lemon and garlic flavors make the chicken juicy and delicious. Plus, they are easy to prepare, so you can spend more time enjoying the meal with your loved ones.
The drumsticks are beautifully golden and garnished with fresh parsley, making them visually appealing. Serve them alongside a fresh salad for a complete meal. The bright colors of the lemons and greens add a cheerful touch to your table.
Cooking these drumsticks is simple. Just marinate them in a zesty lemon garlic mixture, bake until golden, and enjoy the delightful aroma filling your kitchen. Kids will love the finger-licking goodness!
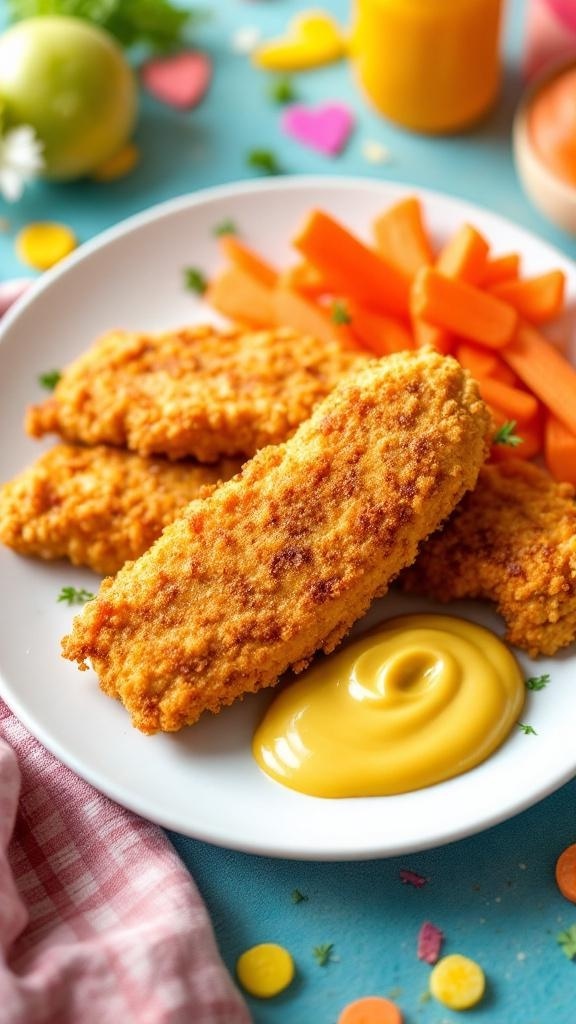
Baked chicken tenders are a hit with kids, especially picky eaters. They are crispy, tasty, and easy to make. The image shows golden-brown chicken tenders served with fresh carrot sticks and a dollop of mustard. The bright colors on the plate make it visually appealing, encouraging kids to dig in.
These tenders are not only delicious but also healthier than fried options. You can customize them with different seasonings to suit your child's taste. Pair them with some veggies for a balanced meal. Let’s get cooking!
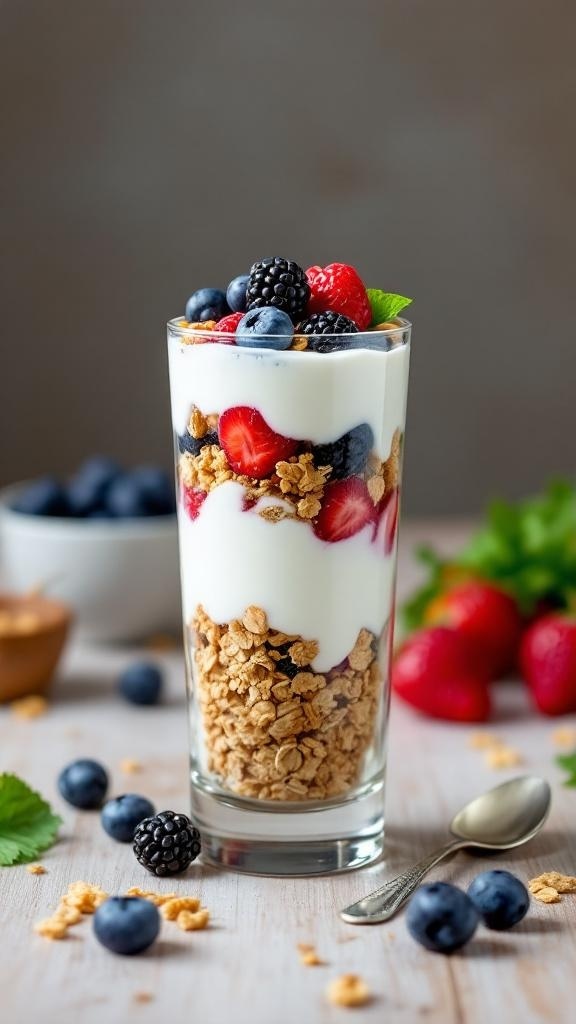
Whipped Greek yogurt parfaits are a fun and tasty way to make dessert healthy. This dish is colorful and appealing, making it perfect for kids, even picky eaters. The layers of creamy yogurt, crunchy granola, and fresh berries create a delightful treat that feels indulgent but is packed with nutrients.
Start by choosing your favorite berries. Strawberries, blueberries, and blackberries are great options. The yogurt provides protein, while the granola adds fiber. This combination not only satisfies sweet cravings but also keeps kids full and energized.
To make these parfaits, simply layer the ingredients in a glass. Start with a layer of granola, followed by a layer of whipped Greek yogurt, and then add a layer of berries. Repeat until the glass is full. Top it off with a sprig of mint for a fresh touch.
This dessert is quick to prepare and can be customized based on what your kids enjoy. You can even let them help assemble their parfaits, making it a fun activity!
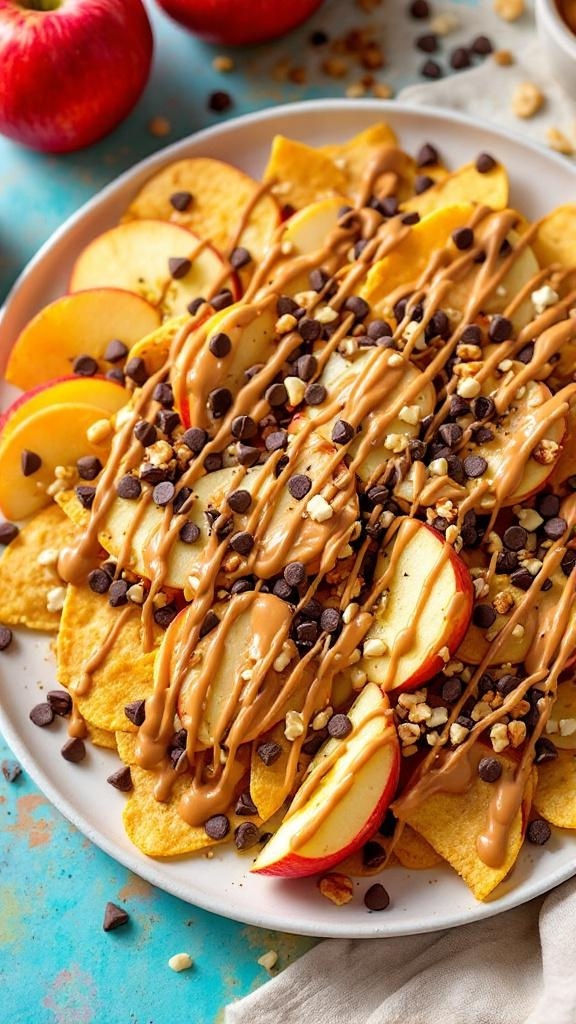
Apple nachos are a fun twist on a classic snack that kids will adore. This dish combines the sweetness of apples with the crunch of tortilla chips, making it a delightful treat. The vibrant colors of the sliced apples, drizzled peanut butter, and chocolate chips create an inviting presentation that even the pickiest eaters can't resist.
To make these apple nachos, start by slicing fresh apples into thin rounds. Arrange them on a plate, layering them with tortilla chips for that crunchy base. Drizzle melted peanut butter over the top, and sprinkle mini chocolate chips and chopped nuts for added texture and flavor. This snack is not only tasty but also packed with nutrients!
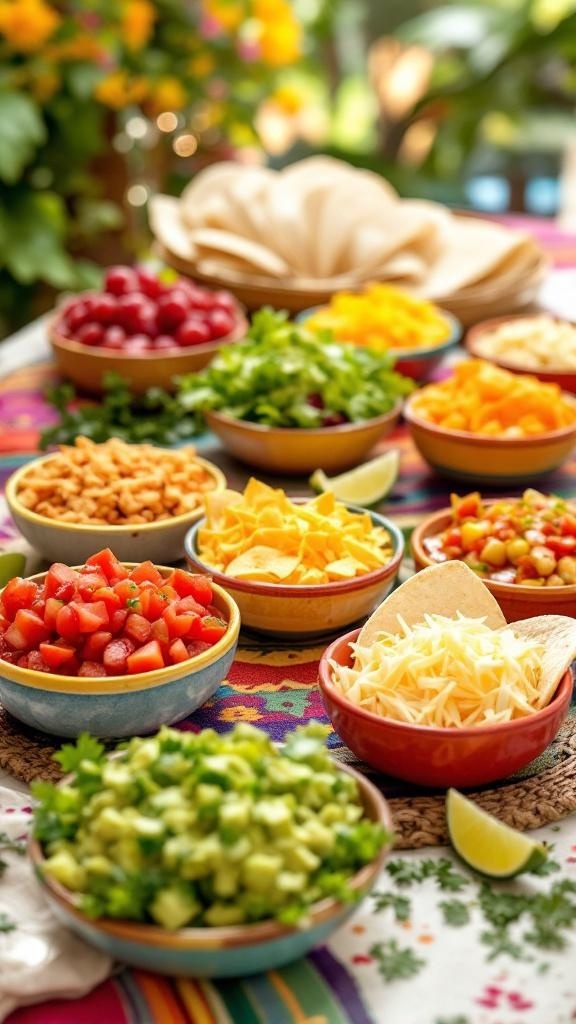
Setting up a DIY taco bar is a fantastic way to make family dinners fun and interactive. Kids can choose their favorite toppings and create their own unique tacos. This not only encourages them to try new ingredients but also gives them a sense of ownership over their meal.
The image shows a vibrant spread of taco ingredients, including fresh veggies, cheeses, and various toppings. There are bowls filled with diced tomatoes, shredded lettuce, and colorful cheeses, all ready to be piled high on soft tortillas. The bright colors and variety make it visually appealing, which can entice even the pickiest eaters.
Start by laying out all the ingredients on a table or counter. Include soft tortillas, crunchy taco shells, and a variety of proteins like seasoned ground beef, shredded chicken, or beans. Then, add toppings like salsa, guacamole, sour cream, and a selection of cheeses. Don't forget the fresh herbs like cilantro for an extra pop of flavor!
This setup not only makes dinner exciting but also encourages family bonding. Everyone can share their creations and maybe even swap tacos to try different combinations. Plus, it’s a great way to sneak in some healthy veggies!
Struggling to Stay on Track with Your Eating?
You’re not alone. One of the biggest obstacles I see people
face is not knowing what to eat. Between busy schedules, endless diet
advice online, and trying to cook healthy meals that actually taste good—it’s
easy to feel stuck or overwhelmed.
That’s why I created my 21 Quick & Easy Custom
Low-Calorie Meal Plans Program. These plans are built specifically for
you—your goals, your lifestyle, and your food preferences. You won’t find
any cookie-cutter diets here. Just real, satisfying meals that help you stay
full, energized, and on track without the stress.
✅ No more guessing.
✅
No more skipping meals or eating “diet food” you hate.
✅
Just a clear, doable plan that fits your life.
👉 Ready to eat better,
feel better, and finally make progress? [Click here to get your custom meal plans today.]
Not Seeing the Inches Drop No Matter What You Do?
If you’re working out but still not seeing the results in
the mirror, I hear you. So many people come to me after months of doing cardio
or random workouts—and still struggling to lose inches or tone up. The truth
is, your body needs more than just movement. It needs a proven strategy.
My 8-Week Workout Program to Lose Inches is designed
to do just that—burn fat, tighten up, and give you visible results.
These workouts are fun, effective, and designed for real people with real
lives. Whether you’re getting back into fitness or ready to take it to the next
level, this program gives you a clear path to success.
✅ Just 8 weeks to build strength,
confidence, and a fitter shape.
✅
No endless cardio.
✅
No gym required (unless you want it).
👉 If you're ready to
drop inches and feel amazing in your own skin, [click here to start the 8-Week Workout Program].
Comments
Post a Comment